Installation Guide (Standalone on 1 PC)
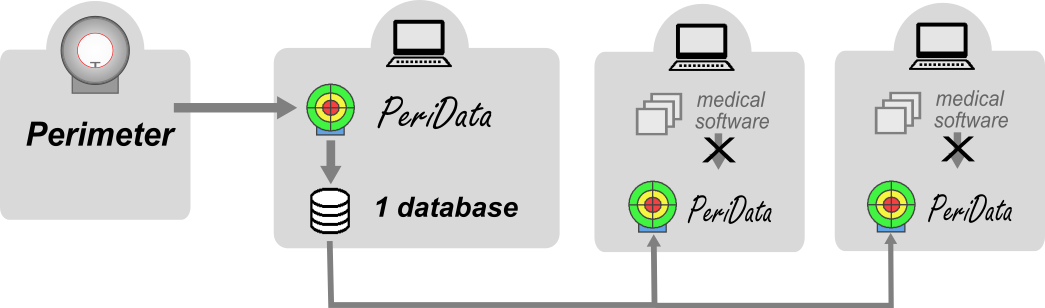
INSTALLATION TYPE: There are 4 different types of installation for PeriData in a network. This guide describes the STANDALONE SOLUTION on one PC.
1. Install the PROGRAM

- download the newest version of the setup file from www.peridata.com ()
- install PeriData on your PC
- TEST: start PeriData > open with Button "WITHOUT LICENSE" (license key registration can be done later) - does PeriData start?
2. Create the database DIRECTORY
3. Create your standard DATABASE
- open PeriData
- switch off the "Viewing Mode" (menu Extra > Options)
- create a new database (menu Database > New)
- save the database (menu Database > Save as..)
- define the database directory (see above) and the file name (recommended = name of the institution without special characters, e.g. "EyecenterDocMiller.phf", "EyeclinicNewtown.phf"..)
- declare the new database as standard database (menu Database > Declare Standard Database)
4. Connect the PERIMETER DEVICE and PeriData
- open help page Perimeter Connection
- click on your device type >> the special help page opens
- perform all 3 steps
- TEST: send examination data from the perimeter >> PeriData reports "new data waiting for storage" -- open a new database > visual fields visible?
5. Setup the BACKUP routine
- The daily backup should include the database directory (.../PeridataFiles) with the database file *.PHF and the auxillary file *.PHD
6. USING PeriData
- PeriData is started by clicking on the icon on the desktop. Commandline parameters are not needed. PeriData may be put into the autostart.